Quick answer: Change the sugar water and thoroughly clean the feeder every other day as a conservative routine, following the Smithsonian’s guidance. Inspect it daily, and change it daily in very hot conditions. Replace it sooner if the nectar turns cloudy or shows mold.
Use a conservative routine, then inspect
Start with an every-other-day change-and-clean routine. Inspect the feeder daily, especially when it sits in direct sun. In very hot conditions, change and clean it daily. Replace nectar immediately if it looks cloudy, has floating material, smells fermented, or shows mold around a port or inside the reservoir.
For the mixture itself, the Smithsonian recipe (opens in a new tab) uses one part refined white sugar to four parts water and no red dye. Make only an amount you can use while it is fresh; cleaning the container matters more than making a large batch.
Shade can slow warming, but it does not replace the every-other-day routine. Never top up old nectar with fresh nectar; empty the reservoir and clean it first.
| Conditions to notice | Check | Routine response |
|---|---|---|
| Cooler, shaded conditions | Inspect the nectar and ports daily | Keep the every-other-day change-and-clean routine; replace sooner if the nectar is not clear |
| Warm weather, direct sun, or a busy feeder | Inspect daily for cloudiness, mold, leaks, and insects | Do not use shade as an extension of the schedule; change and clean daily in very hot conditions |
| Cloudiness, floating material, mold, or a fermented smell | Inspect every removable surface and seam | Empty, take apart, scrub, rinse, dry, and refill rather than topping up |
A simple clean-rinse-dry routine
- Empty the feeder. Do not pour old nectar onto soil where it can attract unwanted animals.
- Take it apart. Separate the reservoir, ports, perches, gasket, and any ant moat according to the feeder’s instructions.
- Rinse promptly. Warm water loosens sugar before it dries.
- Scrub every surface. Use a brush that reaches the ports and seams. Look for black spots, slime, cracks, and trapped insects.
- Rinse thoroughly. There should be no soap or cleaning residue.
- Dry completely. Let pieces air-dry before reassembly and refilling.
If mold remains in a seam or the plastic is cracked and cannot be cleaned, retire the part. A feeder is a food container, not a decorative object that must be kept in service.
Make the routine easier
Keep two feeders and rotate them only if you can clean both. Put the feeder in a place where you can reach it from the ground. Use a small brush reserved for feeder care, and mark the last refill on a calendar during the hottest part of the season.
Placement can reduce the workload. Where to Hang a Hummingbird Feeder explains why shade and access matter. For seed feeders, use the separate How to Clean a Bird Feeder routine.
Sources
- Cornell Lab of Ornithology: How to Clean Your Bird Feeder (opens in a new tab)
- Smithsonian’s National Zoo: Hummingbird Nectar Recipe (opens in a new tab)
Photo credits
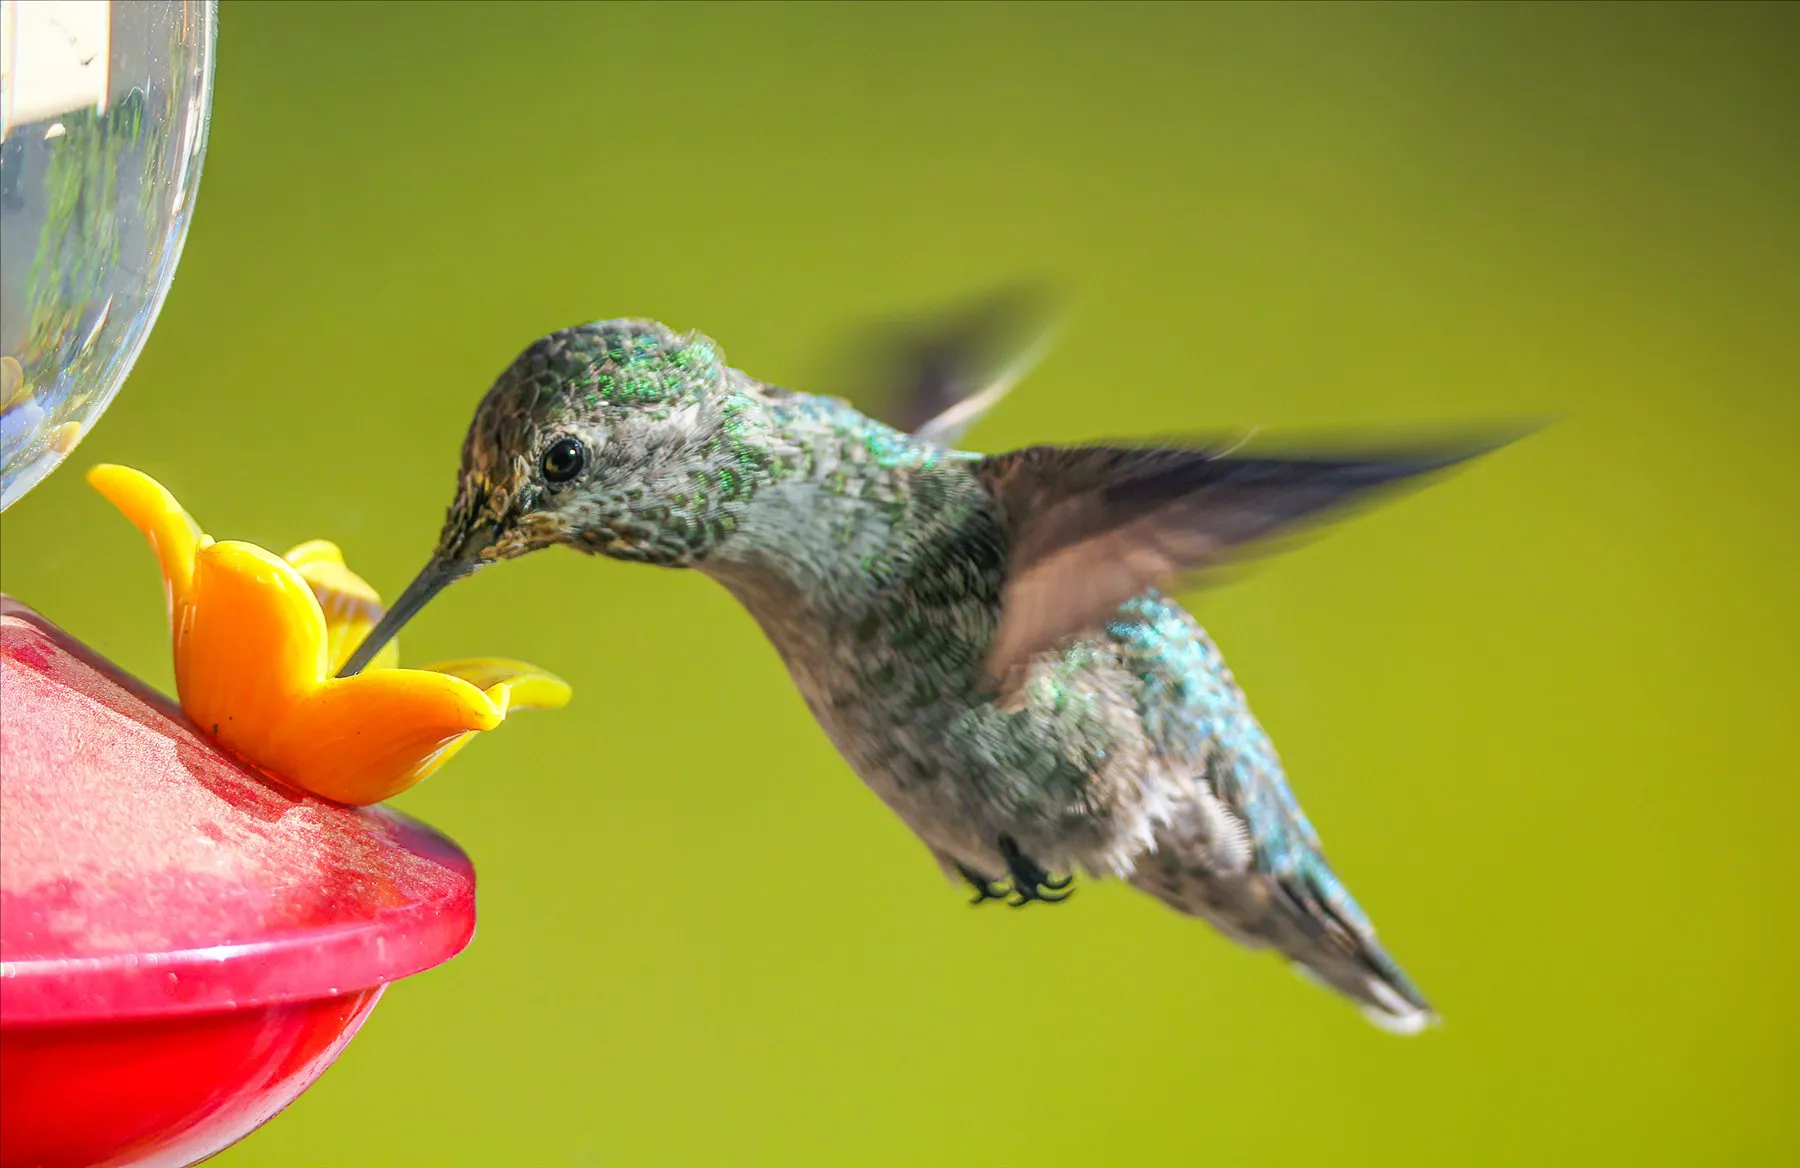
The licensed hummingbird photograph in the article header is credited beneath it. It does not depict a cleaning step or a particular feeder model.